Sponsor: Do you build complex software systems? See how NServiceBus makes it easier to design, build, and manage software systems that use message queues to achieve loose coupling. Get started for free.
In my previous blog I demonstrated how to Self Host ASP.NET Web API, which was a very basic console application leveraging Owin and Katana. The next step in this series is how to turn your console application into a Windows service. If you have any questions, please follow me on Twitter.Video
If you prefer a video tutorial, here is one I published to YouTube outlining a similar example as on this post.Windows Service Template
The typical way to create a Windows Service is by using the Windows Service template when creating a new project within Visual Studio. The template will create a Program.cs calling ServiceBase.Run() in the Main() method. SelfHostServiceBase is the code that will extend ServiceBase. You would have to implement OnStart() and OnStop() That’s simplest possible implementation. Now when you start debugging, you are treated with this wonderful message. What this means is you must build your Windows service, start it, then attach the debugger to the process.
Doesn’t sound like a fun way to debug does it?
Topself
 There is a great open source project called Topshelf which allows you to create a windows service which is much easier to debug.
Topshelf is a framework for hosting services written using the .NET framework. The creation of services is simplified, allowing developers to create a simple console application that can be installed as a service using Topshelf. The reason for this is simple: It is far easier to debug a console application than a service. And once the application is tested and ready for production, Topshelf makes it easy to install the application as a service.First thing is to install Topshelf into your project via nuget.
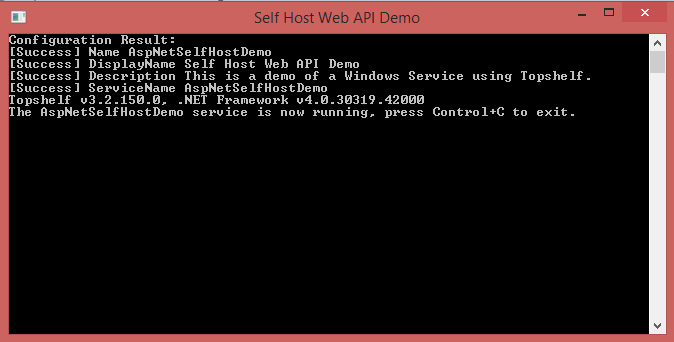
Install-Package TopshelfNext we need a tiny bit of code to configure our service with topshelf. We tell topself which class will contain our service (TopselfService) as well as which method to call when the service starts and stops. Also, you can define which user the service should run as, as well as the name, display name and description. Now when you debug the application, it will run just like a Console application, in which you can add breakpoints and debug.
 To verify my web api application is responding, here is the result from my Postman call

Source Code
 The source code for this demo is available on Github.